さて、準備はできました、が、何をするかですね。フレームワークを入れて喜んでいても仕方がないので、ブログシステムを作ってみようと思います。プログラマーでもないのにできるんでしょうか(笑)?
01ブログシステムの構想
まず、漠然とですが、全体の構想を考えてみましょう。
フロントエンド
- トップページに新着記事を順次表示、長文には readmore を挿入可とする
- タイトルをクリックすると各記事に飛ぶ
- 記事はカテゴリ分けする
- 最新記事一覧、カテゴリ一覧をブロックとして表示する
バックエンド
- 記事の登録、編集、削除、公開非公開設定
- カテゴリの登録、編集、削除
- ブロックの登録、編集、削除、公開非公開設定、タイプ指定(content/module)
- ログイン、認証
基本はこんな感じにするとして、作りながら必要なことは追加していきましょう。こうしたところがプログラマーじゃない所以ということです(笑)。
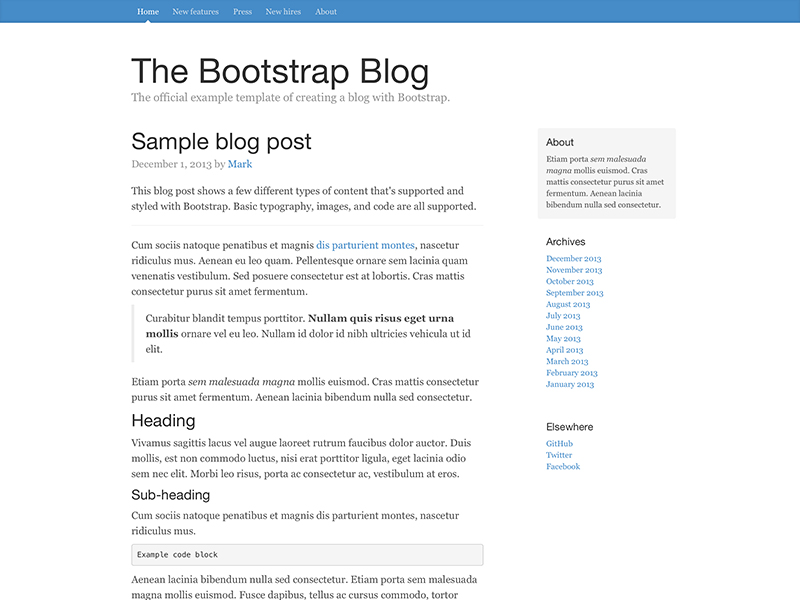
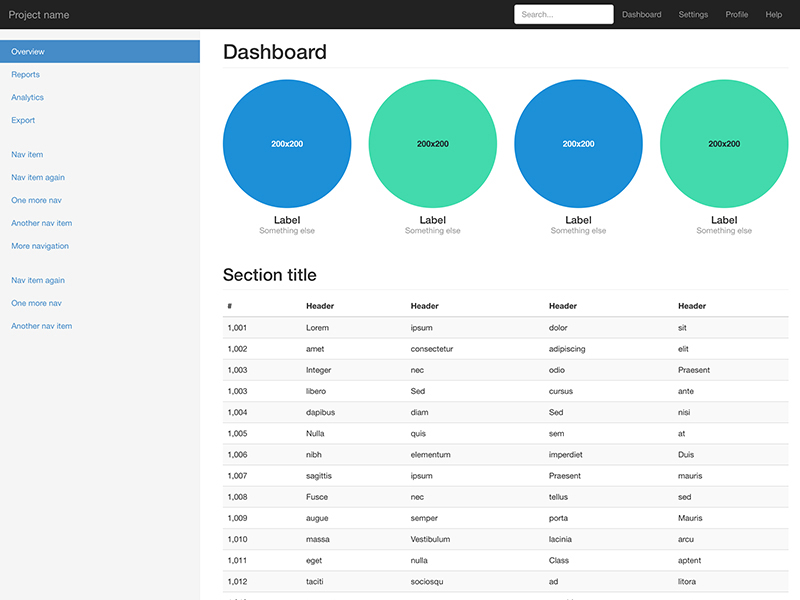
View は Bootstrap を使うことにします。


02ユーザ認証、ログイン
まずは、ユーザ認証をできるようにしなければ何も始まりません。「Laravel4、簡単なユーザー認証のサンプル」 を参考にやってみることにします。
ユーザテーブル作成
artisan を使ってユーザテーブルのマイグレーションを作成します。
$ php artisan migrate:make CreateUserTable
app/database/migrate 以下に 2014_作成日時_CreateUserTable.php というファイルができますが、中身は空ですので参考サイトを参考にスクリプトを書いてみます。
public function up()
{
if( !Schema::hasTable( ‘users’ ) )
{
Schema::create( ‘users’, function($table)
{
$table->increments( ‘id’ );
$table->string( ‘username’ )->unique();
$table->string( ‘password’ );
$table->string( ‘email’ );
$table->timestamps();
});
}DB::table( ‘users’ )->insert(array(
‘username’ => ‘admin’,
‘password’ => Hash::make( ‘password’ ),
‘email’ => ‘admin@hogehoge.com’
));
}public function down()
{
Schema::dropIfExists( ‘users’ );
}
ユーザテーブル作成と同時にテストユーザ(admin) も作るよう書き加え、マイグレーションを実行します。
$ php artisan migrate
**************************************
* Application In Production! *
**************************************Do you really wish to run this command?
Migration table created successfully.
Migrated: 2014_作成日時_CreateUserTable
いちいち確認メッセージが出るのがやや鬱陶しいのですが、これでユーザテーブルができ、テストユーザも登録されています。やり直す場合は、
$ php artisan migrate:rollback
とすれば、テーブルが削除されやり直せます。簡単ですね。
ルーティング
現在のルーティング
Route::get(‘/’, function()
{
return View::make(‘hello’);
});
に以下を書き加えます。
- バックエンド admin/ 以下をリクエストされた場合は auth フィルターへ飛ばす
auth フィルターにより login ページへ飛ぶ - admin/dashboard をバックエンドのホームとする
- login をリクエストされたらログインページを表示する
Route::when(‘admin/*’, ‘auth’);
Route::get(‘admin/dashboard’, function()
{
return ‘admin site’;
});
Route::get(‘login’, function()
{
return View::make(‘login’);
});
ログインView
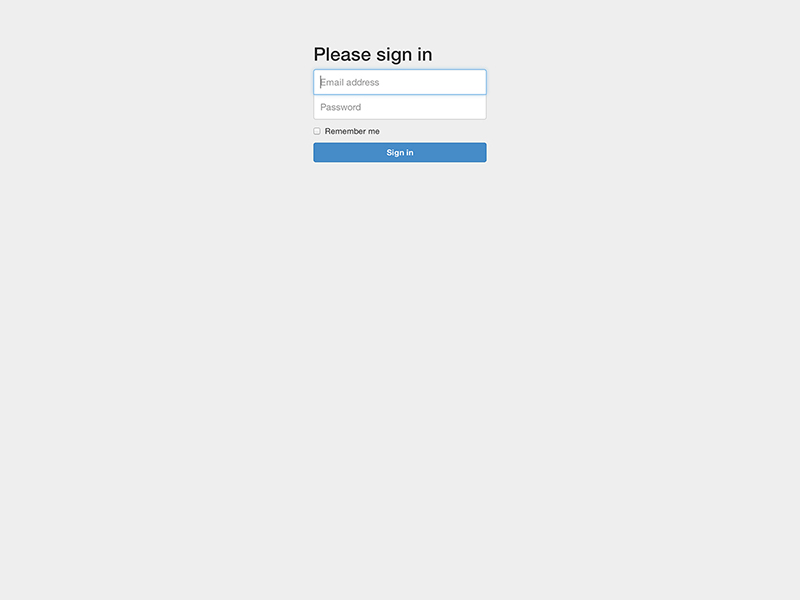
app/views/login.blade.php に Bootstrap のテンプレートを使ってログインビューを書きます。
<!DOCTYPE html>
<html lang=”en”>
<head>
<meta charset=”utf-8″>
<meta http-equiv=”X-UA-Compatible” content=”IE=edge”>
<meta name=”viewport” content=”width=device-width, initial-scale=1″>
<meta name=”description” content=””>
<meta name=”author” content=””><title>Signin</title>
<!– Latest compiled and minified CSS –><link rel=”stylesheet” href=”//maxcdn.bootstrapcdn.com/bootstrap/3.2.0/css/bootstrap.min.css”>
<!– Custom styles for this template –>
{{HTML::style(‘asset/css/signin.css’)}}<!– HTML5 shim and Respond.js IE8 support of HTML5 elements and media queries –>
<!–[if lt IE 9]>
<script src=”https://oss.maxcdn.com/html5shiv/3.7.2/html5shiv.min.js“></script>
<script src=”https://oss.maxcdn.com/respond/1.4.2/respond.min.js“></script>
<![endif]–>
</head><body>
<div class=”container”>
{{Form::open(array(‘class’=>’form-signin’))}}
<h2 class=”form-signin-heading”>Please sign in</h2>
{{Form::text(‘username’,”,array(‘class’=>’form-control’,’placeholder’=>’Username’))}}
{{Form::password(‘password’,array(‘class’=>’form-control’,’placeholder’=>’Password’))}}
@if($errors->has(‘warning’))
<div class=”alert alert-danger”>
{{$errors->first(‘warning’)}}
</div>
@endif
{{Form::checkbox(‘remember’,1,false,[‘id’ => ‘label_1’])}} <label for=”label_1″>Remember me</label>
{{Form::submit(‘Sign in’,array(‘class’=>’btn btn-lg btn-primary btn-block’))}}
{{Form::close()}}</div> <!– /container –>
<!– Bootstrap core JavaScript
================================================== –>
<!– Placed at the end of the document so the pages load faster –>
</body>
</html>
404エラー処理
とりあえず、タイポエラーで 悩まないよう404エラー処理だけやっておきましょう。
app/start/global.php のエラーハンドラーに以下を加えておきます。
App::missing(function($e)
{
return Response::make(“Page not found”, 404);
});
これで、ログインフォームが表示されるところまで来ました。次は認証ですが、次回と言うことで。
